This post may contain affiliate links.
Christine has completed 120 hours of horticulture courses with the New York Botanical Gardens for her Certificate of Gardening. She has also run her family’s farm store and garden center for 10 years and has home-gardened alongside her mother since she was a little girl. Plants are her passion to say the least!
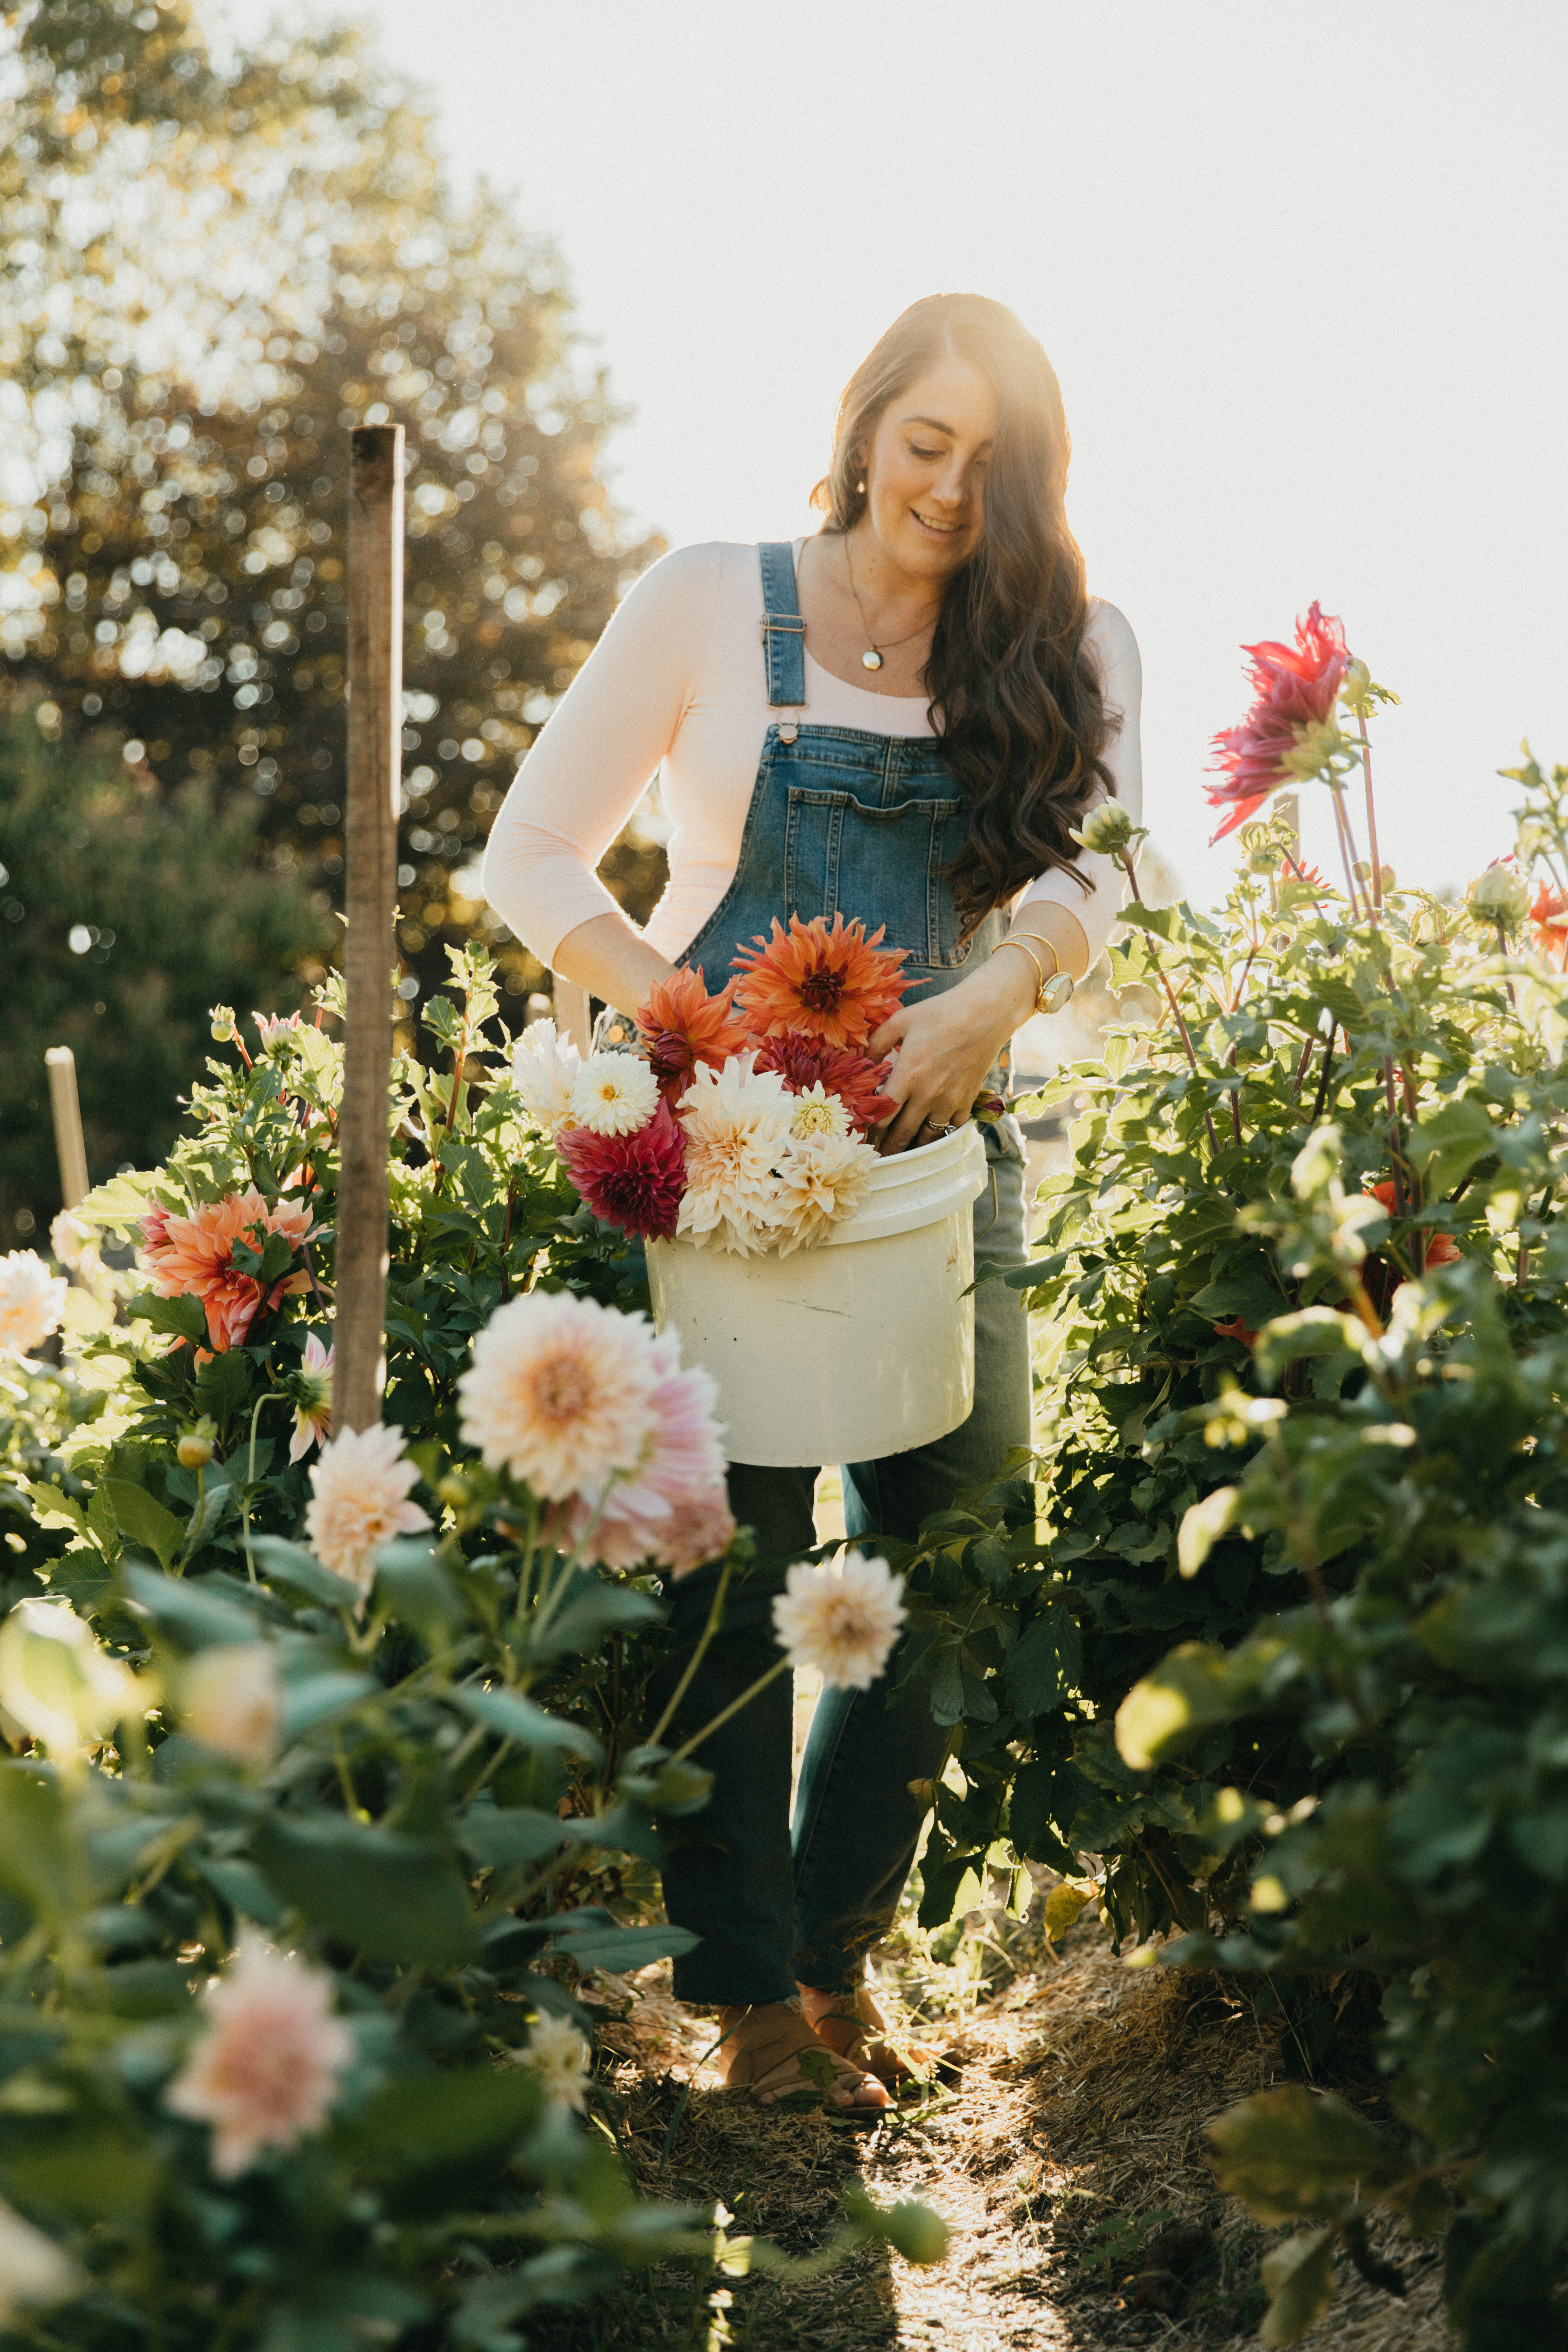
6 Tips for Growing Great Dahlias
Ahhhh dahlias, my dreamy girls!
Few flowers can contend with the beauty of the dahlia – their large, billowy blooms, some with hundreds of petals, and colors ranging from whites to pinks to purples to burgundies to corals to yellows.
Flowering for months, they inject color and drama anywhere you grow them – in the landscape, in mixed borders in the garden, on the farm or in containers. Depending on the variety and your location you can find them for sale at farm stands from July through November.
In addition to being widely beloved and excelling in variety, dahlias are actually very easy to grow and do well both in the ground and in containers. With over 20,000 varieties in existence, and more new hybrids coming out each year, it can be overwhelming to choose a favorite!
These decadent blooms are some of my favorite flowers of all time in the garden and in the vase. Read on as I share all my tips and tricks for planting, cultivating and harvesting beautiful Dahlias!
1. Choose the Right Dahlia
There are actually tens of thousands of different types of dahlias so first things first, choose your favorite/the variety you want to try your hand at!
Listed below are some of the most popular categories you might see on retail websites and I’ve also noted my personal favorites!.
Dahlia flower forms grown from tubers:
- Anemone and Colarette: Single dahlias with defined centers, about 3″ bloom diameter. My favorite is this mix from Eden Brothers.
- Ball and Pompon: Compact, prefect globe-shaped blooms with quilled petals, 2-4″ bloom diameter. Favorites are ‘Jowey Winnie,’ ‘Bonanza,’ ‘Burlesca’ and ‘Cornell.’
- Cactus: Big flower heads with wiry, curled petals. Not my favorite form, but ‘Bora Bora’ is pretty.
- Decorative: Double dahlias with broad, flat-tipped petals. Favorites are ‘Brown Sugar,’ ‘Eveline’ and ‘Karma Chocolate.’
- Dinner Plate: Big, decadent blooms with wavy petals, ranging from 8-12″ in diameter. Favorites are ‘Cafe au Lait’ and ‘Labyrinth.’
- Semi-cactus: Defined by slightly curled/wiry petals (not as exaggerated as Cactus), favorites are ‘Henriette,’ ‘Verda’ and ‘Surprise.’
Dahlia Seeds vs. Tubers
Most gardeners are used to growing dahlias from tubers but seeds are another option! The flower heads are not nearly as gigantic and impressive (only 2-3″) and the plants are much more compact so they are perfect to use as container and bedding annuals!
Dahlias from seed, though smaller, are bright, compact and easy to grow, plus they come in a dazzling array of colors! Some of my favorites are Coltness, Early Bird, Mixed Mignon and Unwins Bedding Dahlia. Like tubers, all are still annuals that require moist, well-drained soil in full sun.
Dahlia Tuber Sources
These are my favorite sources for purchasing dahlia tubers, I have personally bought and grown tubers from each other these farms and they have always been super healthy! Let me know if you know of other sources for me to try!


2. Plant Your Dahlias at the Right Time
Dahlias are such stunners, they bloom anywhere from late August until the first frost, for us this comes by mid to late October. The more you cut the more they bloom, they are seriously the best!
In order to get the longest flowering season possible, it’s important to plant your tubers as soon as the last frost date is passed or when the soil temperature has hit about 60 degrees consistently. Where I live in New York (zone 6) this is usually mid to late May.
In warmer parts of the country this happens much sooner, so be sure to check your hardiness zone for the right/safest time to plant in your area.
3. Know the Best Dahlia Growing Conditions
Three things: 1) SUN, sun, sun and more sun! 2) Well-drained and super easy access to water because these babies DRINK and want to be watered deeply and often. 3) Fertilize, because they also like to feast!
As far as soil, prior to planting, I amend our beds with 2-3 inches of compost, rock phosphate, worm castings and a general organic fertilizer (Neptune’s Harvest 2-3-1). This mix is tilled into the top layer of soil and then tubers are planted roughly one foot apart down the row, with two rows per bed. Plant dahlia tubers about 6″ beneath the soil surface with the eye (sprout, like on a potato) pointing up.
I do three 20 ft. x 4 ft. beds of dahlias and fit about 120 plants. The Neptune’s Harvest fish emulsion fertilizer is my favorite for dahlias, I apply about once a week until buds set and then I stop.
You can also get your soil tested, most states have local agricultural extensions where you can send a sample off for around $50 and get a complete analysis, they will also give you suggestions for specific nutrient amendments depending on what you want to plant so it can be super helpful!


4. Do Not Water Newly Planted Dahlia Tubers
I know this statement seems counterintuitive but you best listen, no one wants rotten tubers!
Dahlias should not be watered until you see the first green shoots poking through the ground. Don’t complicate it. Overwatering before shoots are visible can lead to tuber rot and you will have zero dahlias and you will cry a lot.
When the weather warms and sprouts begin to emerge from the soil, you can go through and pull mulch away from the newly emerging shoots so they get plenty of sunlight.
Once you see sprouts it is time to start deeply watering. This means watering enough so it gets all the way down to those tubers you planted 6″ beneath the ground level.
When you don’t give dahlias enough water you might also see flower mutation later on when they start to bloom so remember, once visibly growing they need lots of water! A light mist will not work with these flowers, you want to really soak the soil regularly, I recommend setting up drip tape if you have a serious patch going!
5. Pinch Dahlias at About 12″ Tall
Once the plants are between 8-12 inches tall, I give them a hard pinch (snip the top 3-4 inches of the central shoot just above a set of leaves) which encourages more branching, increased stem count and longer overall stem length.
The process of pinching can often feel counterintuitive, but by pinching back the main stems, you’re telling the plant to start producing more branches at the base versus up in the canopy, resulting in many more usable flower stems over the course of the season. Pinching also helps to prevent the plant from creating extra- large, hollow stems. If left to grow normally, dahlia stems can grow as thick as a broom handle which is not ideal for tucking into an arrangement.

6. Harvest Dahlias Regularly for More Blooms
Dahlias are not known for their long vase life, they are pretty ephemeral once cut. But they’re big, beautiful and colorful flower heads make up for their fleeting existence. Plus, the more you cut, the more you’ll be rewarded with more amazing blooms.
Dahlia Cutting Tips:
- cut in the cool of the morning or evening.
- place stems directly into hot water (70-80 degrees) with floral preservative for best vase life.
- don’t be afraid to cut deep into the plant — cut long stems and be rewarded with more long stems; cut short stems and get short stems back.
- let stems cool in bucket back down to room temperature before arranging
- keep all supplies CLEAN (bucket, water, sheers etc.), remember bacteria is the enemy of happy blooms
Good Luck Friend! xo
Check out more of my gardening posts here!


Do you have suggestions for staking the plants ?
Thank you so much for this help! I received gifted dahlia tubers from Harvest Moon last week and planted them with my Dad. So excited!! I look forward to seeing them bloom–fingers crossed!
Yayyy!!! I am so excited for you, please keep me posted on how your dahlias do this season, happy growing!!