This post may contain affiliate links.

Container Garden Tips: How To Keep Your Flowers Blooming All Summer Long
Creating decorative containers for the home has been a long-time passion of mine. Since I started managing our family’s farm and garden center about 10 years ago I realized I had an eye for container design. Plus I got to order all the annuals and tropicals for our store so I had a field day bringing in and playing with the coolest of the cool flowers and plants!
Over the years I learned some tricks in container design and how to keep my planters lush and blooming all summer long. Below are my tips and tricks, some of which I’v already shared if you follow along on Instagram! Spoiler you guys, it’s not as hard as it seems!
9 Tips for Happy Container Gardens
1. Don’t Overcrowd Containers
Make sure not to overcrowd your space! We’re talking annuals here, I’ll save my veggie container tips for a separate post!
Most annuals need about 6″ between each other in order to thrive and not get choked out, remember there is a limited amount of their space so competition for nutrients can become fierce with crowding!
Crowding also reduces airflow between plant material which invites damp conditions and therefore fungus and disease. Not good! So I definitely suggest following this rule and giving your plants the space they need, trust me they will fill in in no time.
2. Plant in Odd Numbers
Designing and planting in odd numbers, whether in containers or in landscape bed, is just more pleasing to the eye! It’s the golden rule of landscaping and I personally follow it 100% because it’s fool-proof!


3. Thriller, Filler, Spiller Theory
Further diving into design theory, this is the simplest (and easiest to remember) method that I follow and then I go from there!
Thriller: Your central, focal-point plant. This is going to be your tallest plant, one that grows upright with spire-like flowers usually. You’ll want plant this one it in the middle of the container. Check the plant tag to find out how tall it should grow, steer clear of cutting flowers that can grow *too tall* (like zinnias, cosmos, sunflowers and cleome – these are better suited for the in the ground!). Some of my favorite thrillers are Angelonia, Salvia,Dracena, fountain grasses, Canna, Agastache, Coleus, Fern, Caladium, Begonia.
Filler: These are your filler plants, the one you’ll plant around the base of the thriller to fill in with more flowers. Some fillers I recommend New Guinea Impatiens, Fuchsia, Begonia, Perilla, Ageratum, Strawflower, Lamb’s Ear, Vinca Rosa, Marigold and Pelargonium.
Spiller: These are your trailers, any cascading-form plant that will beautifully spill over the rim of your planter. Some of my favorite spillers are Calibrachoa, Supertunia, Alyssum, Lantana, Verbena, Torenia, Lamium and Evolvulus. And for non-blooming trailers I recommend Sweet Potato Vine (SO many beautiful foliage colors!), Creeping Jenny, Ivy (especially Algerian Ivy), Helichrysum and Vinca Vine.
The combo of these three hits all the requirements to make an aesthetically-pleasing designer planter for your home, all your friends will want to know your secrets!

4. Good Drainage is Key
GOOD DRAINAGE! I can’t stress this enough!! I recommend planting in a nice light potting mix (add vermiculite if needed!) and placing crocking before adding the soil (crocking is the use of rocks, pebbles, gravel, wood chips, broken terra cotta or any other larger material to promote water drainage from the soil).
Having drainage holes at the bottom of your planters is also key – plants need water but they don’t like to sit in it. Stagnant water causes root rot which will kill your plants almost instantly. If your container has no holes add some with a drill if the material is conducive.
I personally like planting in good old terra-cotta pots because in addition to normal drainage, the water can actually evaporate through the permeable ceramic material and (yes you’ll have to keep your eye on watering more) but the plant will be much happier not to sit water logged!
5. Learn How to Water
I won’t BS you, watering is an acquired skill. I’l never tell you “water this plant this often” (except for indoor plants) because there are just too many variables in nature! It doesn’t take long but you need to become accustomed to your specific plants’ needs and the outdoor conditions.
If you’re a newbie I suggest starting with a water meter, or more simply every day just sticking your finger down a few inches into the soil to feel the moisture level. With the vast majority of plants if the soil is still moist don’t water. I’ve seen over-watering kill more plants than under watering!
Don’t be afraid to touch the soil and your plants, its therapeutic for you and the plants and also gets you to know what they need!!
Some other quick watering tips:
- Check your plant twice a day until you become familiar with their soil moisture and water requirements.
- When watering water in the morning, it’s best for them to drink as the heat of the day comes on versus overnight (think of them like humans!).
- Water the SOIL, plants don’t need showers, their roots need to drink (again, like humans!).
- Keep track of weather – rain of course means no need to water but things like wind can affect water frequency too! On windy days plants dry out quicker so they will need more of your attention.
- If your container dries out and the plant begins to wilt give it water and move it out of the sun (as much as possible) immediately, they recover much better in the shade when stressed from being dry!
- Be intuitive! Gardening really is intuitive by nature, listen to your plants, touch your plants, touch the soil, they’ll show you what they need!


6. Location: Sun/Shade Requirements
Know the plants’ sun requirements and group similar ones together. For example you wouldn’t put a sun-loving succulent with a shade-loving fern.
It’s as easy as reading the tags that your plants come with! They will tell you exactly how much sun is needed for that plant to thrive.
If a tag says shade or part shade put it in a spot where it gets the more delicate morning sun and then afternoon shade. If a tag says full sun put it in a spot where it gets at least 6-8 hours of sun and *mostly* afternoon sun.
7. Girls Need to Eat!
FEED THEM. An annuals job is to bloom all summer and provide our homes with color, they need to be fed! The only fertilizer I have used that actually works is slow release Osmocote Plus. I mix it right into the soil ONE TIME right when I plant and thats literally it! It feeds all my girls then entire summer and keeps them lush and healthy!
8. Prune Your Plants: Deadheading & Haircutting
Deadhead!! Many, if not all, annuals require deadheading in order to keep producing blooms. Deadheading is removing the spent flowers, this tells the plant you want MORE flowers so keep picking, the more you pick the more flowers you’ll get!
Haircut as needed! Sometimes my container annuals can start to get huge and the trailing ones will even start to trail on the ground. This may look beautiful but it can actually start to stress the plant and it will get leggy at the base which doesn’t look great. To promote more bushiness at the base of the plant I will do a quick trim, literally like a haircut, where I trim a few inches from the tips!
Also! Trim away any yellowing or dead/decaying foliage, if left on the plant or soil surface to rot it could attract fungus.
Remember, clean plants are happy plants!

9. Check Daily for Pests
First of all start with well-drained, healthy soil. Rotting debris can breed fungus and invite pests so make sure you’re cleaning out any decaying plant matter on the soil surface!
Even the healthiest plants will get pests at some point during the growing season, especially if it’s been a particularly hot and humid summer. My advice is to check daily and diagnose/treat as needed.
My go to pest sprays are my own DIY spray (recipe here!) and neem oil. Both have helped me immensely in the garden to both deter and preventive infestations as well as take care of them as they happen.
There are of course exceptions, like beetles UGH. If you saw my Instagram stories you know we battled a Japanese Beetle army on our roses this year. If you’re like me and you choose not to use toxins in the garden your options are to hand pick them off and kill them (we throw them in a bucket filled with hot water and a few drops of dish soap) and continue to spray neem oil.
What’s in My Container Garden?
Scroll down below for plant lists of what I’m growing in my containers this year!


Front Porch Sun Containers:
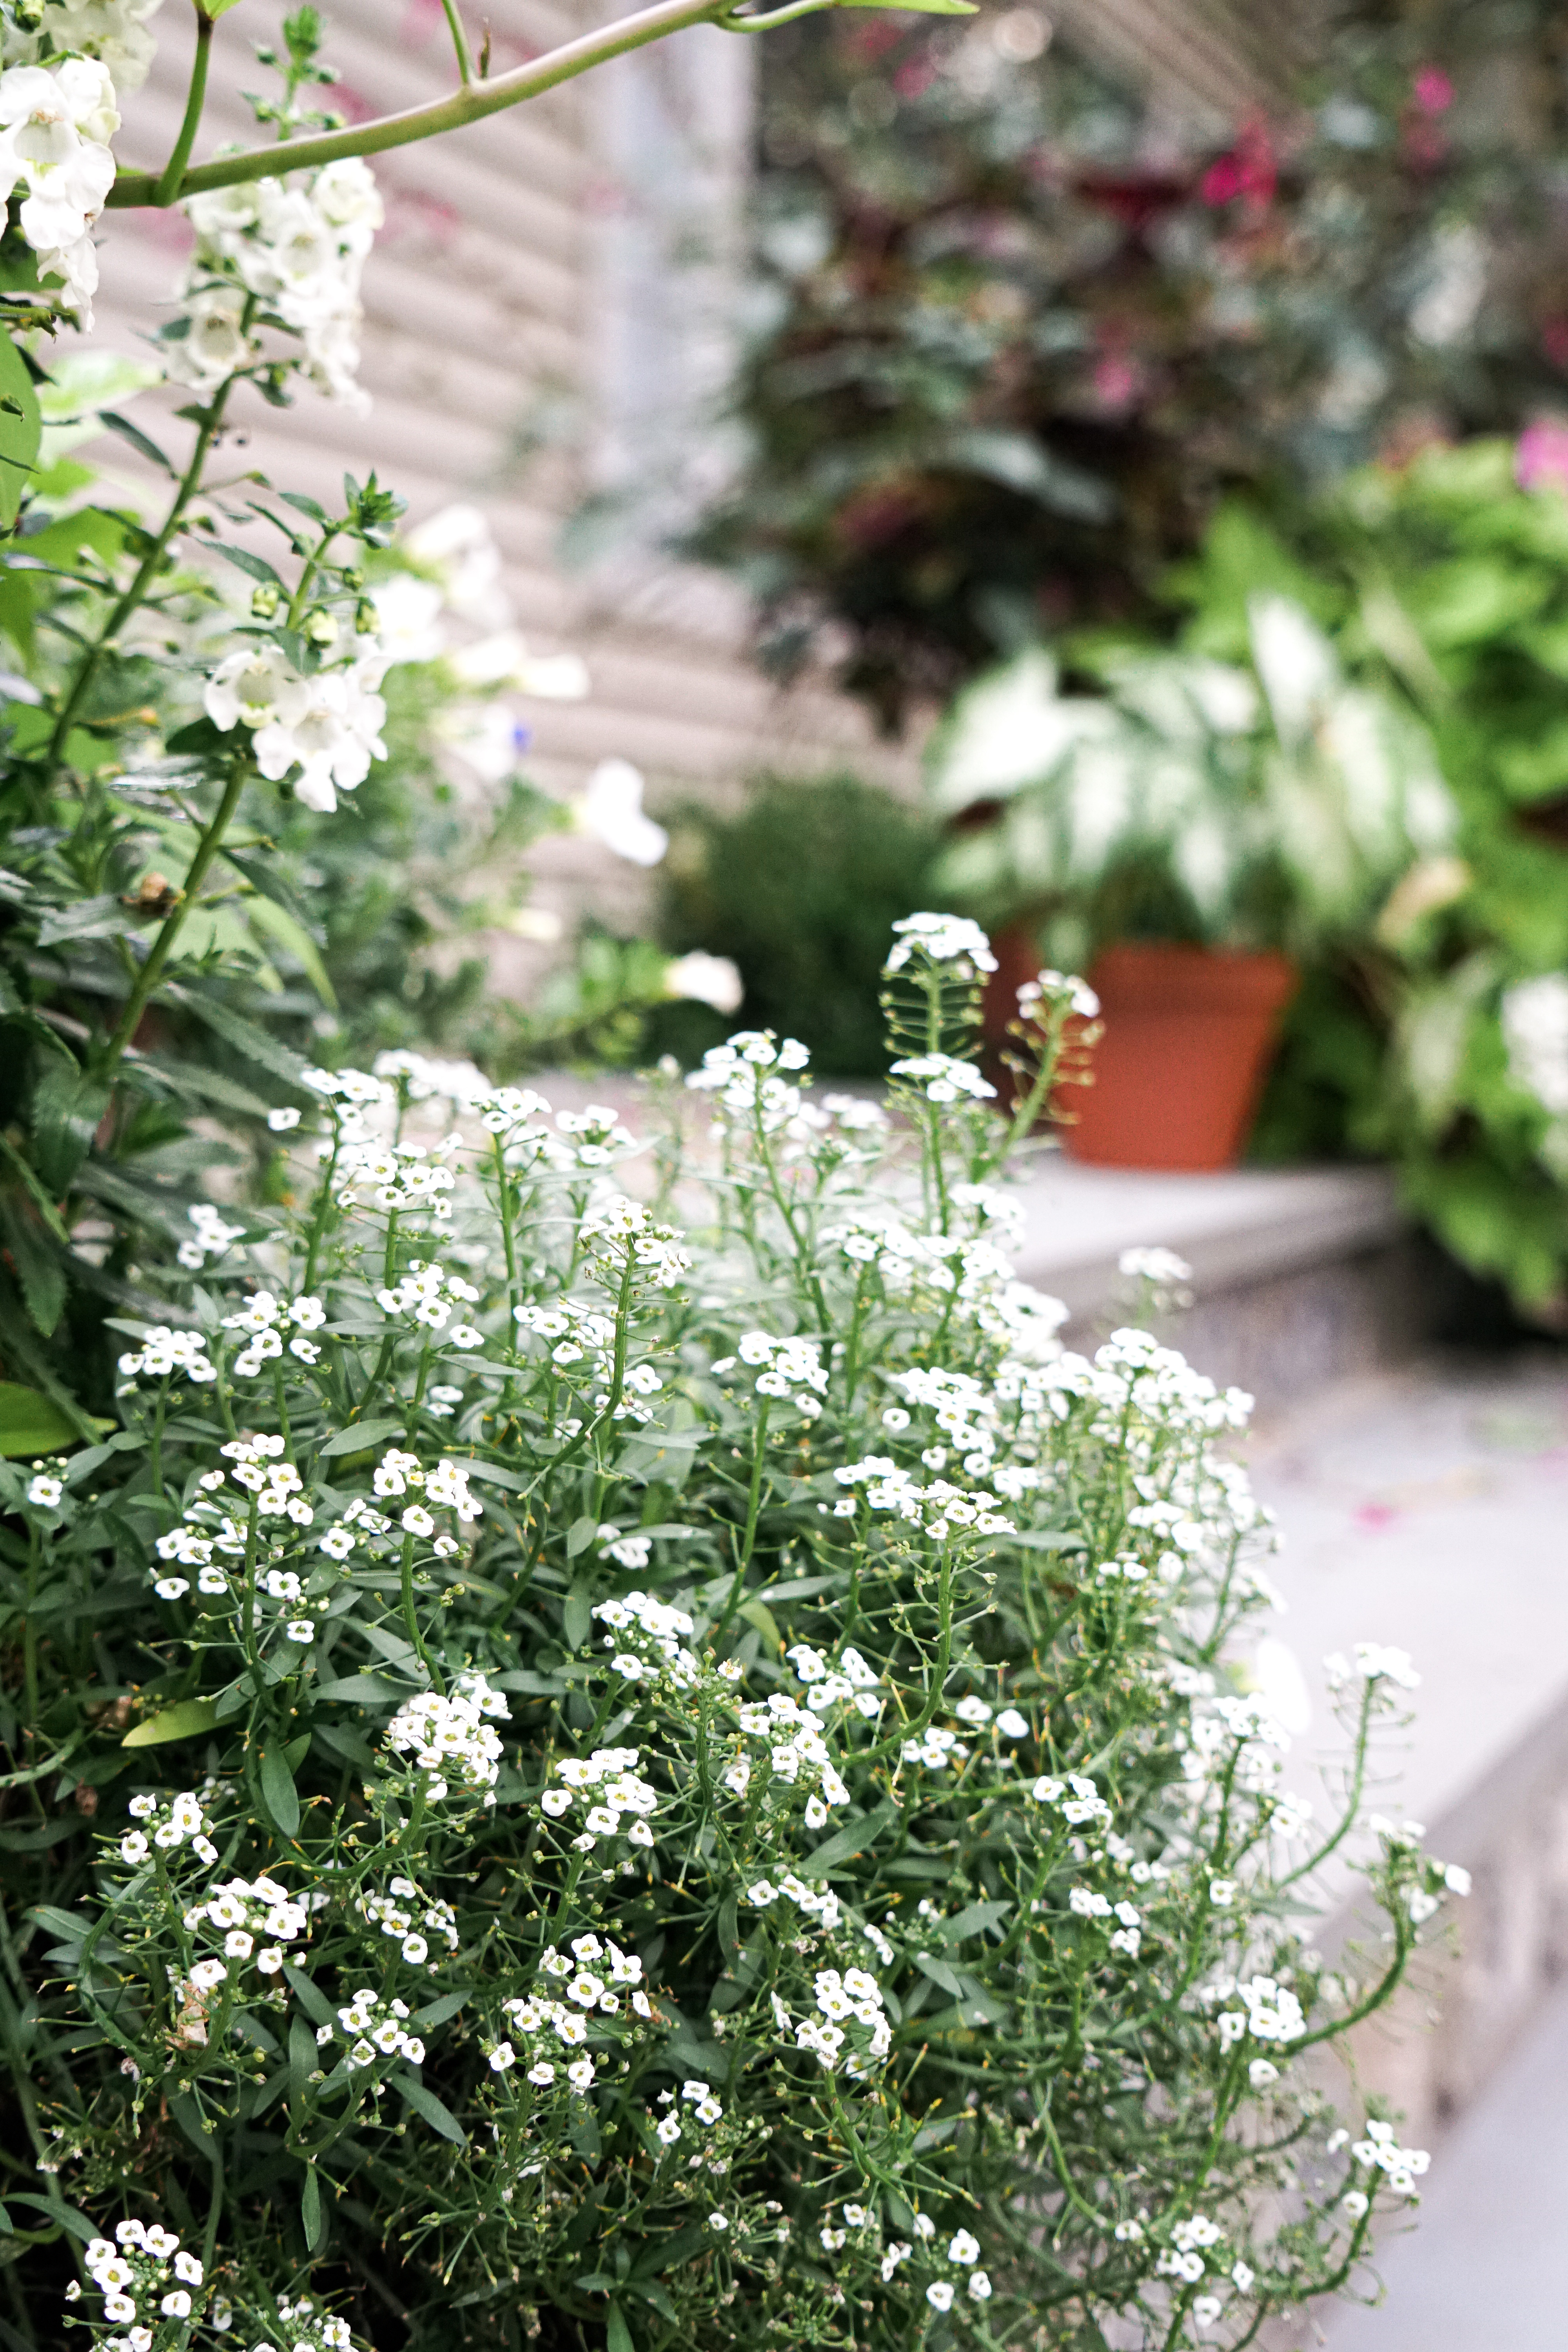
We have two big whiskey barrels on the front porch I planted up with my favorite sun-loving annuals because it’s south facing and thats where we get the most sun! In addition to the two big planters I have one pot with a beautiful caladium, it’s tolerating the part shade well! And two smaller matching pots with white angelonia, white alyssum and white calibrachoa. Below is what I have in the two whiskey barrels!
- Salvia ‘Wendy’s wish’
- Sweet Potato Vine ‘Sweet Caroline’
- Lobularia (alyssum) ‘White Stream’
- Petunia ‘Supercal Sunday Pink’
- Calibrachoa
- Fountain Grass ‘Fireworks’
- Verbena ‘Lanai Vintage Rose’ and ‘Lanai Peach’
- Agastache ‘Kudos Coral’
- Perilla Magilla’

Small Sun Container:
- Coleus ‘Alabama Sunset’
- Sweet Potato Vine ‘Sweet Caroline’
- Calibrachoa white
- Salvia
- Helichrysum p. ‘Splash’


Back Patio Shade Containers:
I have two big whiskey barrels on our back porch where we get morning sun until around 12pm and then shade the rest of the day. These are the plants between the two planters!
- Caladium ‘Candidum’ – one red/white, one green/white
- Fern: Microlepia strigose ‘Lace Fern’
- Fern: Pteris ‘Albo-lineata’
- Coleus ‘Alabama Sunset’
- Fuchsia ‘Mrs. JD Frederick’
- Torenia ‘Summerwave Silver’
- Begonia ‘Coccinea Sinbad’
- Begonia ‘ Linda Dawn’
- Begonia ‘Pegasus’
- Helichrysum p. ‘Splash’
- New Guinea Impatiens ‘Sonic White’
- Algerian Ivy
- Plectranthus
- Rex Begonia (separate container)
Not pictured, small shade planter:
- Coleus ‘Dark Star’
- Fuchsia ‘Mrs. JD Frederick’
- Begonia ‘Coccinea Sinbad’
- New Guinea Impatiens ‘Sonic Light Lavender’
- Creeping Jenny

Succulent Container:
- Hens & Chicks
- Grapotoveria ‘Fred Ives’
- Orostachys ‘Hardy Duncecap’


Herb Containers in the Garden:
Herbs in the garden are a GREAT idea – they attract much needed pollinators as well as repel away insect pests and small animals!
- Basil ‘Rutgers’
- Basil ‘Red Rubin’
- Thyme
- Tarragon
- Oregano
- Lavender
- Rosemary
- Nasturtium
- Savory (summer & winter)
- Assorted mints and sages
All right that’s the post!!
I hope these tips are helpful in your quest to grow long-lasting summer blooms in containers! Please as always feel free to reach out with questions and I’d love to hear more about YOUR gardens in the comments!
Visit my Amazon Storefront HERE to check out all my garden supply recommendations including the Osmocote fertilizer and organic neem oil spray I mentioned!
Looking for more gardening posts? Check these out!
9 Tips for a Low Maintenance Veggie Garden
DIY Raised Garden Beds
How to Map, Plan & Plant Your Veggie Garden
Complete Guide to Growing and Harvesting Peonies
Cut Flower Garden Planning
Seed Starting for Beginners
Gardening Supplies Favorites
Tips for Long-Lasting Lilacs
Mums Tips and Tricks
And more coming soon! Sign up for my newsletter to stay up to date on new gardening posts!


[…] Container Gardening Tips […]